DIY Snowboard Maintenance Guide: How to Wax, Tune, and Repair Your Board at Home
I didn’t do snowboard maintenance for my first two seasons because I thought maintenance was ‘only for pros.’ I was wrong. I eventually realized that a well-maintained board gives you way more control on ice and actually saves you money by making your gear last longer.
In this guide, I’ll show you how to handle snowboard waxing, tuning, base repair, and storage, even if you’re a total beginner.
Quick Maintenance: The “After Ride” Routine
Spending just three minutes on your board after you unstrap can prevent the most common gear headaches. Here are the three quick tips to do after every ride.
- Wipe Down the Metal Edges and Base: Moisture causes edge rust and base oxidation. Use a microfiber towel to wipe your edges and base dry.
- Inspect the Base & Bindings: Check for scratches or gear damage. Fix the damages before they get serious.
- Bring the Board Inside: Temperature shifts between day and night can warp the wood core or cause delamination.
How to Wax Your Snowboard at Home for Beginners
I know waxing a snowboard can feel intimidating; I felt the exact same way when I started. But once I actually got the iron in my hand, I realized it’s actually pretty easy!
Hot waxing is an essential maintenance habit. A well-waxed board handles better in various snow conditions and protects your base from oxidation and environmental damages. As a general rule, you should aim to wax your board every 5–7 riding sessions.
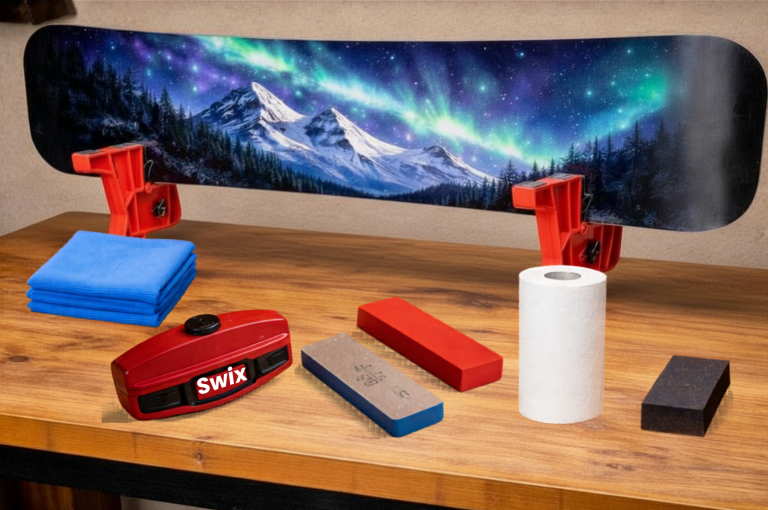
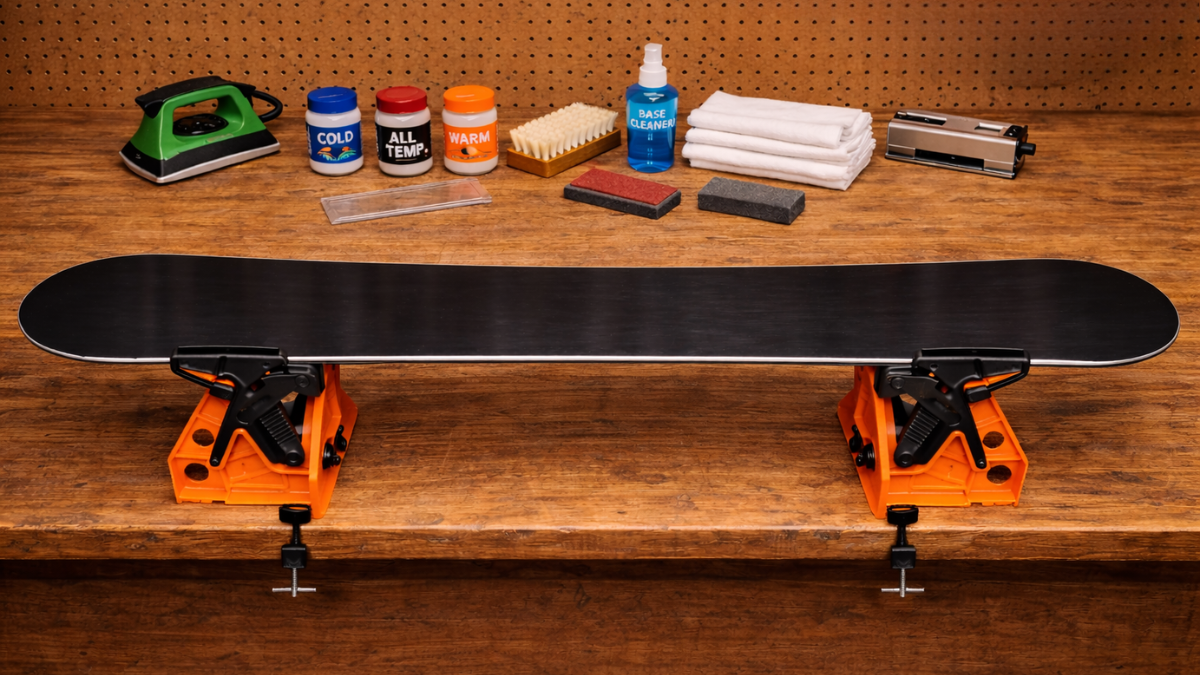
Essential Snowboard Waxing Tools
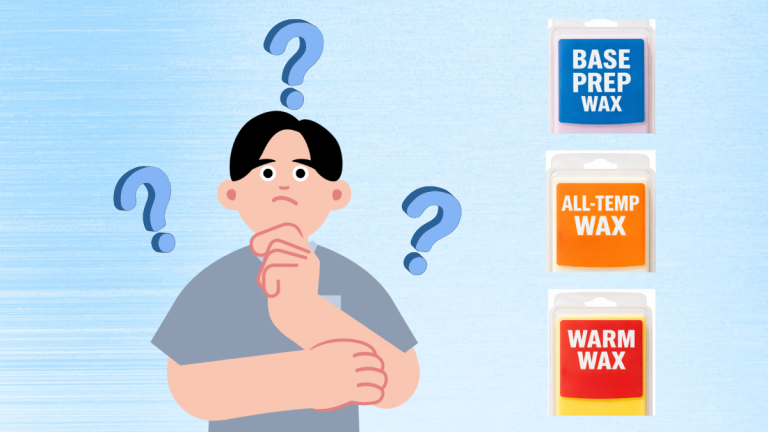
- Snowboard wax (all temperature is best for beginners)
- Waxing iron
- Plastic wax scraper
- Nylon brush
- Towel (microfibre is best)
Snowboard Waxing Step-by-Step Instructions
- Prepare Your Workspace: Choose a well-ventilated area and use a stable workbench. Wax drips, so cover the floor with an old sheet or cardboard.
- Clean the Base: Use a nylon brush to pull out old dirt, then wipe the base with a microfiber towel (base cleaner optional).
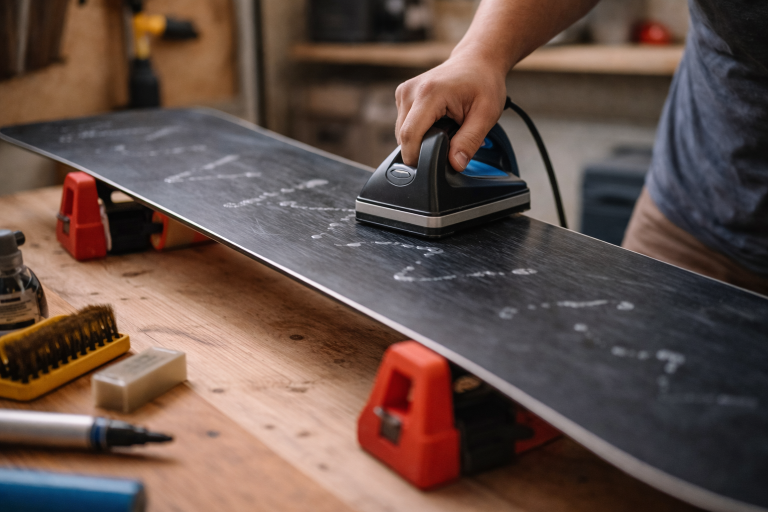
- Set the Iron Temperature: Check your wax packaging for the recommended heat.
- Drip the Wax: Hold the wax against the iron and move in a zig-zag pattern from tip to tail. Ensure the base is 100% dry before you start.
Caution: If the wax starts to smoke, your iron is too hot, turn it down immediately - Spread the Wax: Iron the wax into a thin, even layer. Keep the iron moving at all times to avoid heat damage to the base. Use slow, overlapping passes from tip to tail.
- Let it Cool: Let the board sit for 20–30 minutes until it’s cool to the touch. This allows the pores of the base to “lock in” the wax.
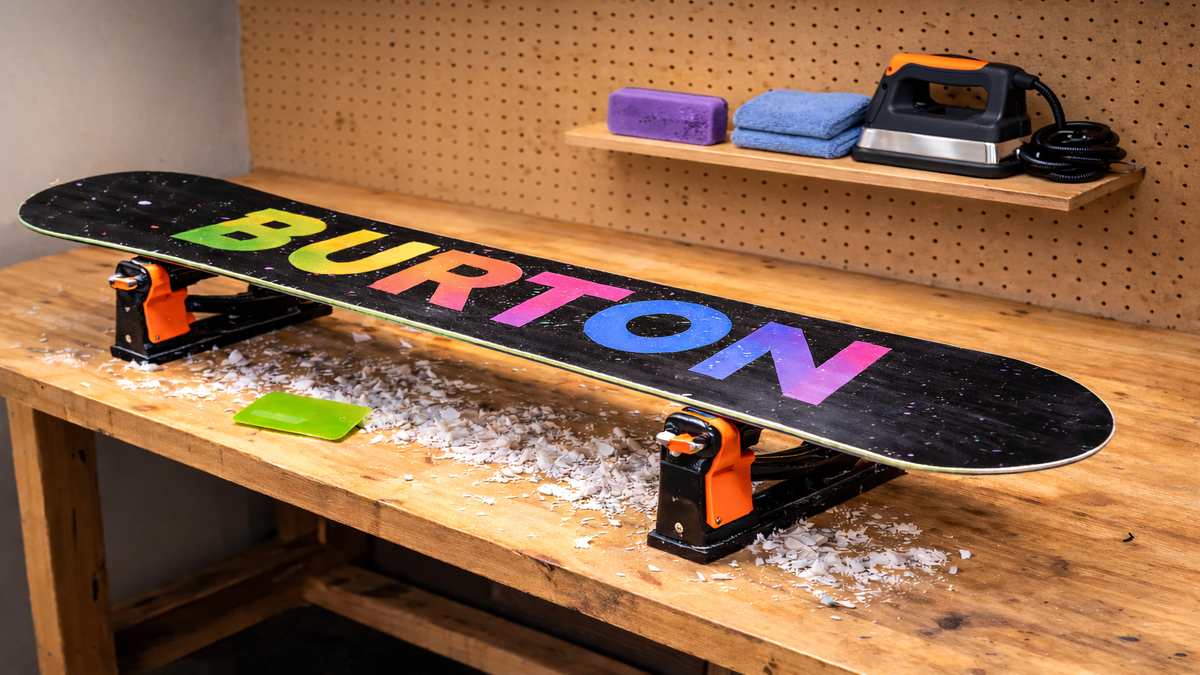
- Scrape off the Excess Wax: Use a plastic scraper at a 30°-45° angle. Scrape from tip to tail until you stop seeing large wax shavings.
- Brush the Base: Use a nylon brush with medium pressure, moving tip to tail. This “buffs” the wax and reveals the base structure. Finish by wiping it down with a clean cloth.
If you’re interested in more details, check out our beginner’s guide on how to wax a snowboard. Here’s a nice video that goes through all these steps
How to Tune Snowboard Edges: A Beginner’s Guide to Sharpening
To be honest, when I first started, edge tuning was even more intimidating to me than waxing. I was worried I might shave off too much metal and cause permanent damage to my board. But I quickly learned that tuning is a gradual process rather than something where one slip ruins everything.
You’re really just smoothing and sharpening a tiny amount of metal. Most files and stones are designed to be minimal, so you’d have to overdo it a lot to cause real harm. Think of it as gentle maintenance, not heavy surgery.
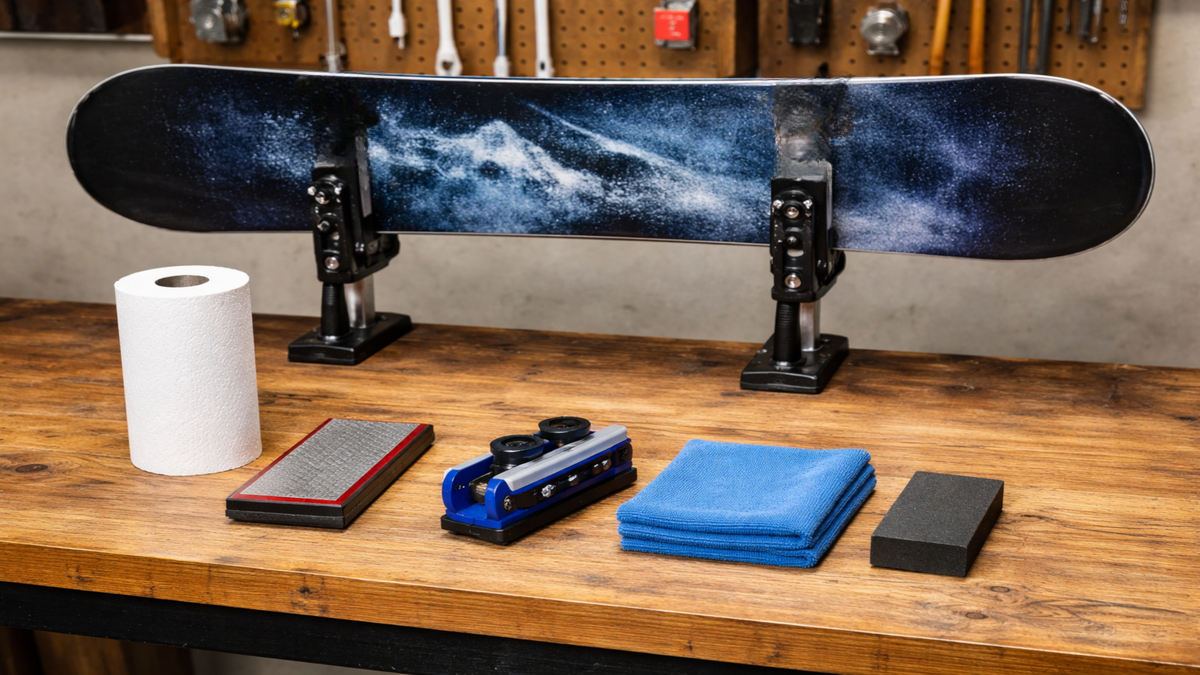
Essential Edge Tuning Tools
- Diamond Stone (For removing rust and burrs)
- Edge Guide Tool (To set the correct angle)
- Clean Rag or Paper Towel
Snowboard Tuning Step-by-Step Instructions
- Clean the edge: Run a clean rag along the metal edge to remove any dirt and grime
- Remove rust: If there is any light rust on the metal edge, gently rub it off with a gummy stone. Once the rust is removed, wipe the edge clean with a cloth.
- Sharpen with the guide: Place your edge guide tool against the side edge. Using steady pressure, make long, smooth passes from nose to tail. Do this until the edge feels consistent.
- Wipe the edge: wipe away the metal shavings on the edge.
- The Fingernail Test: Lightly drag your fingernail across the edge. If the edge is sharp, it should “scrape” a tiny bit of your nail off. If it slides smoothly, it needs more sharpening.
- Final Wipe: Give the edge one last wipe with your rag to ensure no metal shavings are left behind. Make sure the edge is dry.
Check out this guide explain these steps in detail. Here’s a nice video I found that explains tuning really well
How to Repair Base Gouges with P-Tex
If the gouge is deep and wide, especially if the wooden core is exposed, you should take it to a shop for a professional fix. On the other hand, if it’s just a superficial scratch that you can barely feel with your fingernail, a hot wax will usually smooth it right out.
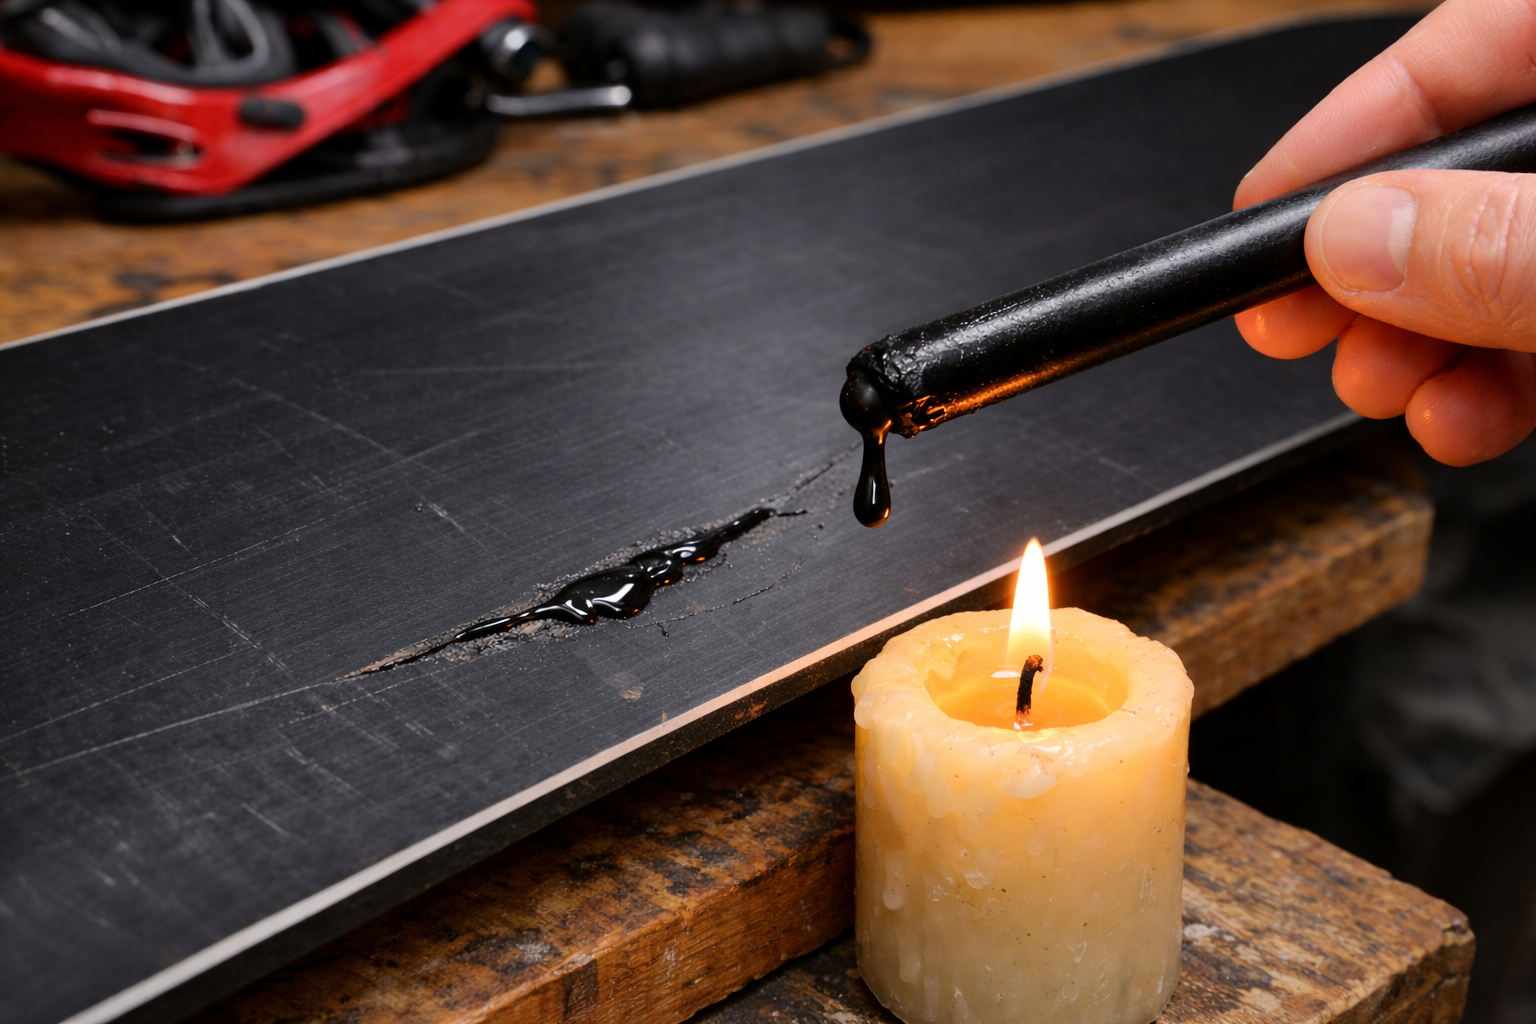
But if that scratch is deep enough to see but hasn’t reached the wood, this is where P-Tex comes in. P-Tex is essentially a plastic repair candle that you melt into the “wounds” of your board to seal them back up. It may sound complicated, but anyone can do it at home!
Essential Base Repair Tools
- P-Tex sticks
- A lighter, candle or P-Tex Torch (for melting P-tex sticks)
- Utility Knife and/or Metal Scraper
Step-by-Step: DIY P-Tex Base Repair
- Choose a well-ventilated area: P-tex fumes are toxic. Respirator masks are recommended.
- Prep the gouge: Use a sharp utility knife to trim away any “hairy” bits of plastic sticking out. Clean the area with base cleaner and a rag.
- Light the P-tex stick: Wait until it’s dripping consistently to avoid black soot.
- Fill the gouge: Hold the dripping stick just above the damage. Move it slowly along the gouge. letting the molten plastic fill the hole until it sits slightly higher than the base.
- Let it cool: Give the repair at least 15–20 minutes to harden completely.
- Scrape it flush: Use a metal scraper to shave off the excess P-tex. Use light, horizontal strokes until the repair is perfectly level with the rest of your base.
- Wax the board: A P-tex repair is dry plastic, so I strongly recommend waxing over it to finish the job and protect the base.
If you are visual learner, here’s the video on p-tex repair
Off-Season Snowboard Storage: How to Protect Your Board for Summer
Storing your board involves more than just leaning it against a garage wall and forgetting about it until November. Taking the time to prep it properly prevents your edges from rusting, keeps the base from drying out, and protects the board’s natural shape for next season.
5 Steps to Prep Your Board for the Off-Season
- Deep Clean: Scrape off old wax and dirt. Wipe the base and edges with a rag and ensure they are 100% dry to prevent rust while in storage.
- Apply a “Storage Wax”: Hot-wax the base with a thick layer of all-temp wax, but do not scrape it off. This thick coat seals the pores and protects the base from moisture.
- Remove Your Bindings: Doing this relieves tension on the board’s core and inserts.
Pro Tip: Keep your screws in a labeled bag so you don’t lose them. - Find a Cool, Dry Spot: Store your board in a temperature-controlled environment (like a closet). Avoid damp basements or hot attics. Avoid direct sunlight.
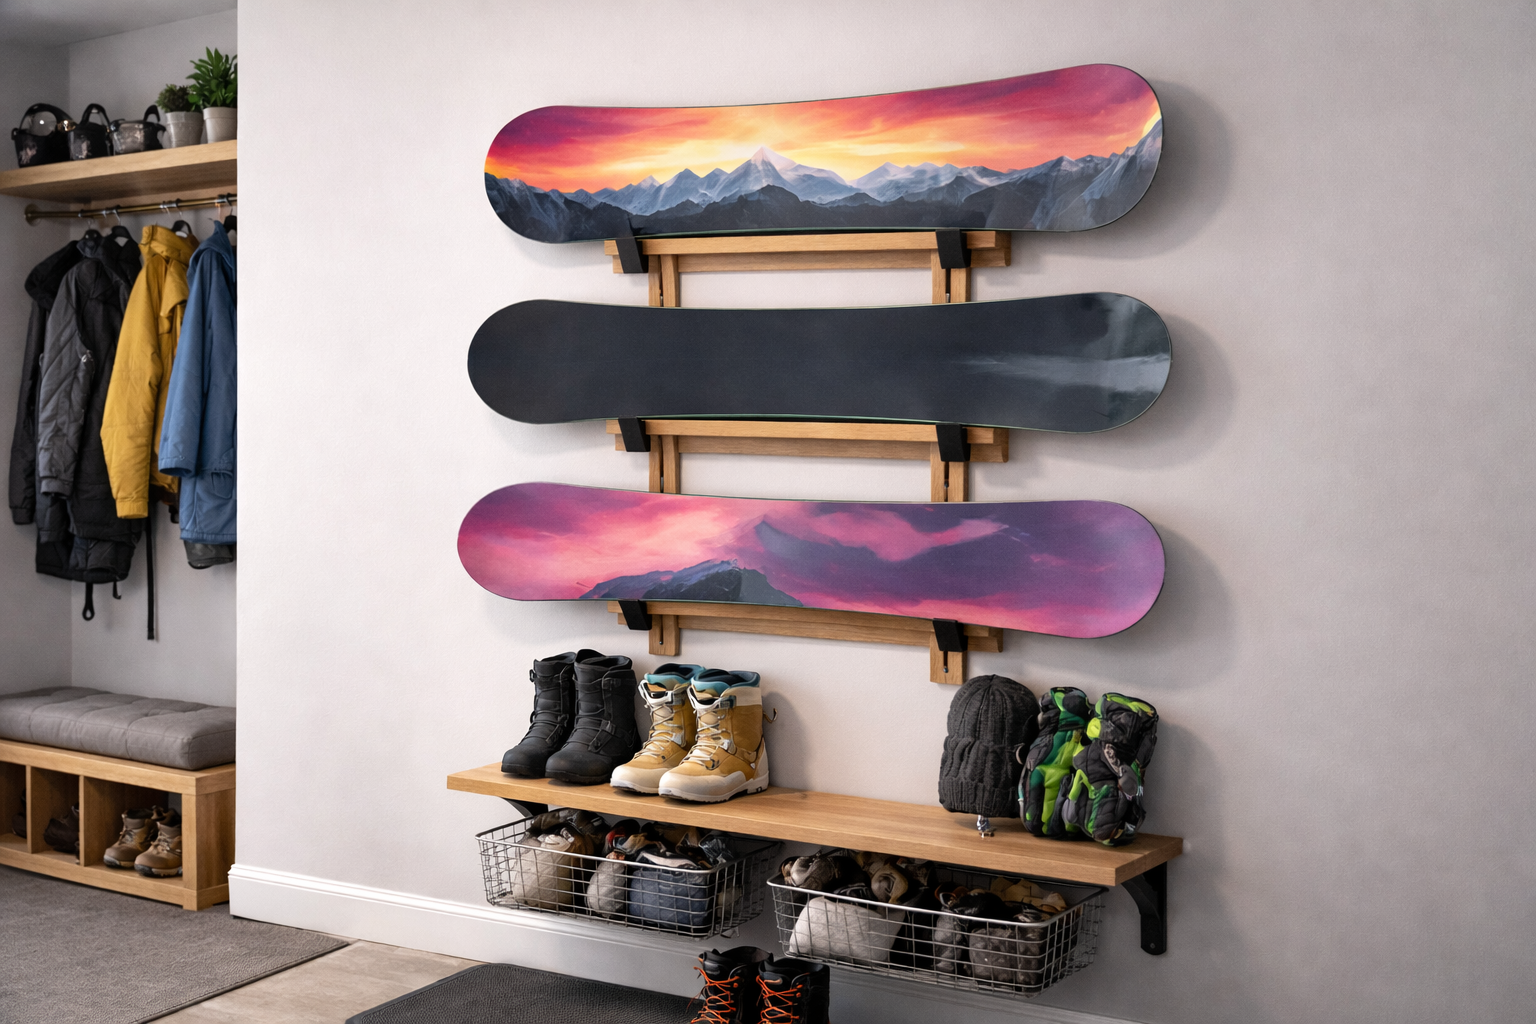
- Store Flat or Vertically: Lay the board flat on a shelf or stand it up vertically with support at both ends. Never hang it by one end, as this can ruin the board’s natural shape over time.
For a deeper dive on seasonal care, check out our Summer Snowboard Storage Guide.
Snowboard Maintenance: The DIY Advantage
Mastering your own snowboard maintenance is a total game-changer. Beyond the money you’ll save on shop fees, there is a massive boost in confidence that comes from knowing exactly how your board is going to react when you drop in. Whether it’s that extra glide on a flat cat-track or the reliable grip of a freshly tuned edge, you’ll feel the difference of a DIY tune in every turn.
Don’t feel like you have to be an expert overnight. Start with a basic wax, move on to your edges when you’re ready, and keep this guide bookmarked for those inevitable rock gouges. The more you work on your board, the more you’ll understand how it rides.
I’d love to hear from you: Got questions? Spotted something unclear or want to share feedback? Please reach out to me in my contact page!